Winterizing Your RV Water System: A Complete Guide
Freeze damage is one of the most common — and most preventable — causes of costly RV repairs. Water expands as it freezes, and even a small amount left in a pipe, pump, or water heater can crack fittings and split lines. Winterizing takes an afternoon and a few supplies, and it will save you from tearing apart your rig every spring.
Start by draining everything. Empty your fresh water tank, gray tank, and black tank completely, then open the low-point drain valves so gravity pulls out whatever the tank drains missed. Leave the water heater bypass valve in the bypass position before you drain the heater tank — this keeps antifreeze from filling a tank you do not need to protect.
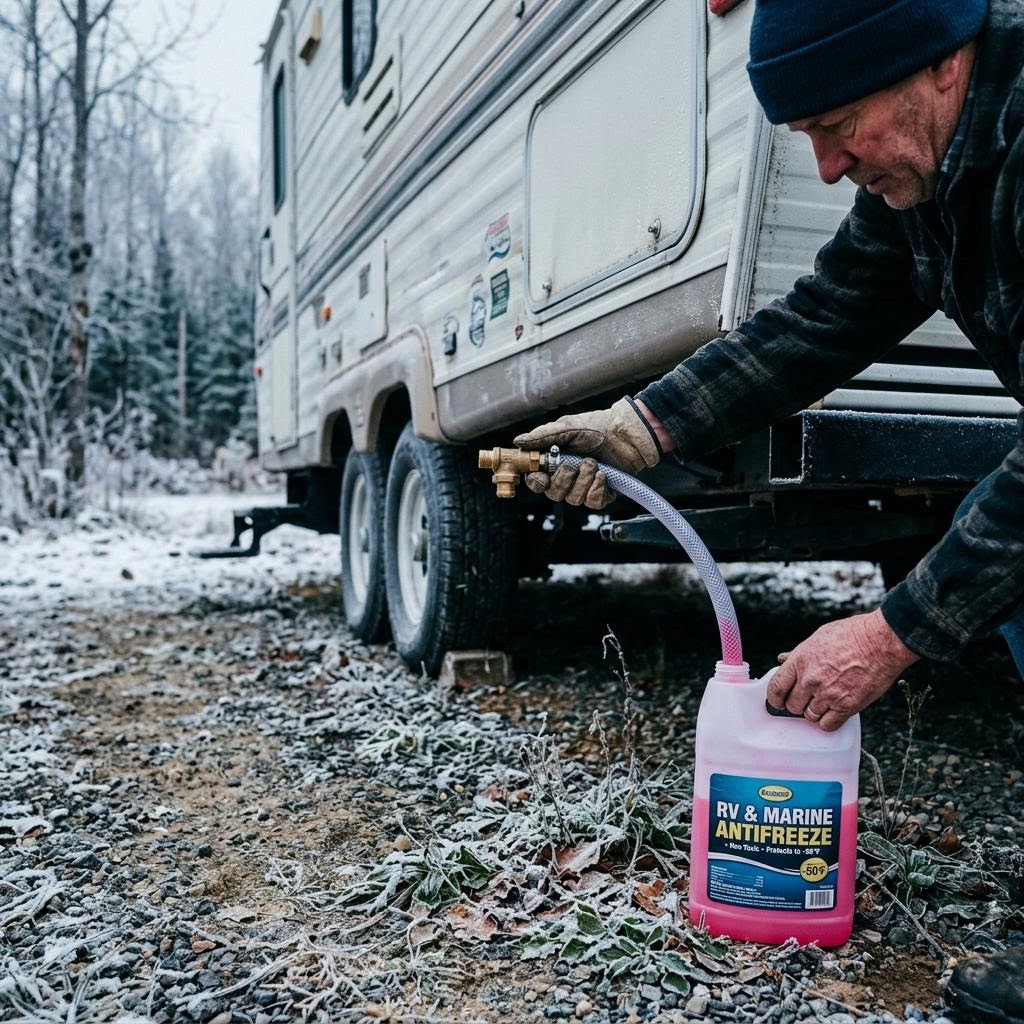
Next, bypass the water heater if your rig has a bypass kit, then hook an RV-safe antifreeze pump (or a hand pump and a jug of antifreeze) to the city water inlet or a dedicated winterizing valve. Pump antifreeze through the system until it runs pink from every faucet, both hot and cold, including the shower, outdoor shower, and toilet valve.
Do not forget the low-use fixtures: ice makers, washing machine hookups, and outdoor kitchens are easy to miss and are exactly where freeze damage tends to show up first. Finish by pouring a cup of antifreeze down each drain trap to protect the P-traps, and flush a small amount through the toilet as well.
Once you are done, label the date on a piece of tape near your water panel so you know exactly when the job was last done. It is a small habit that makes spring de-winterizing much faster, since you will know precisely what was treated and when.